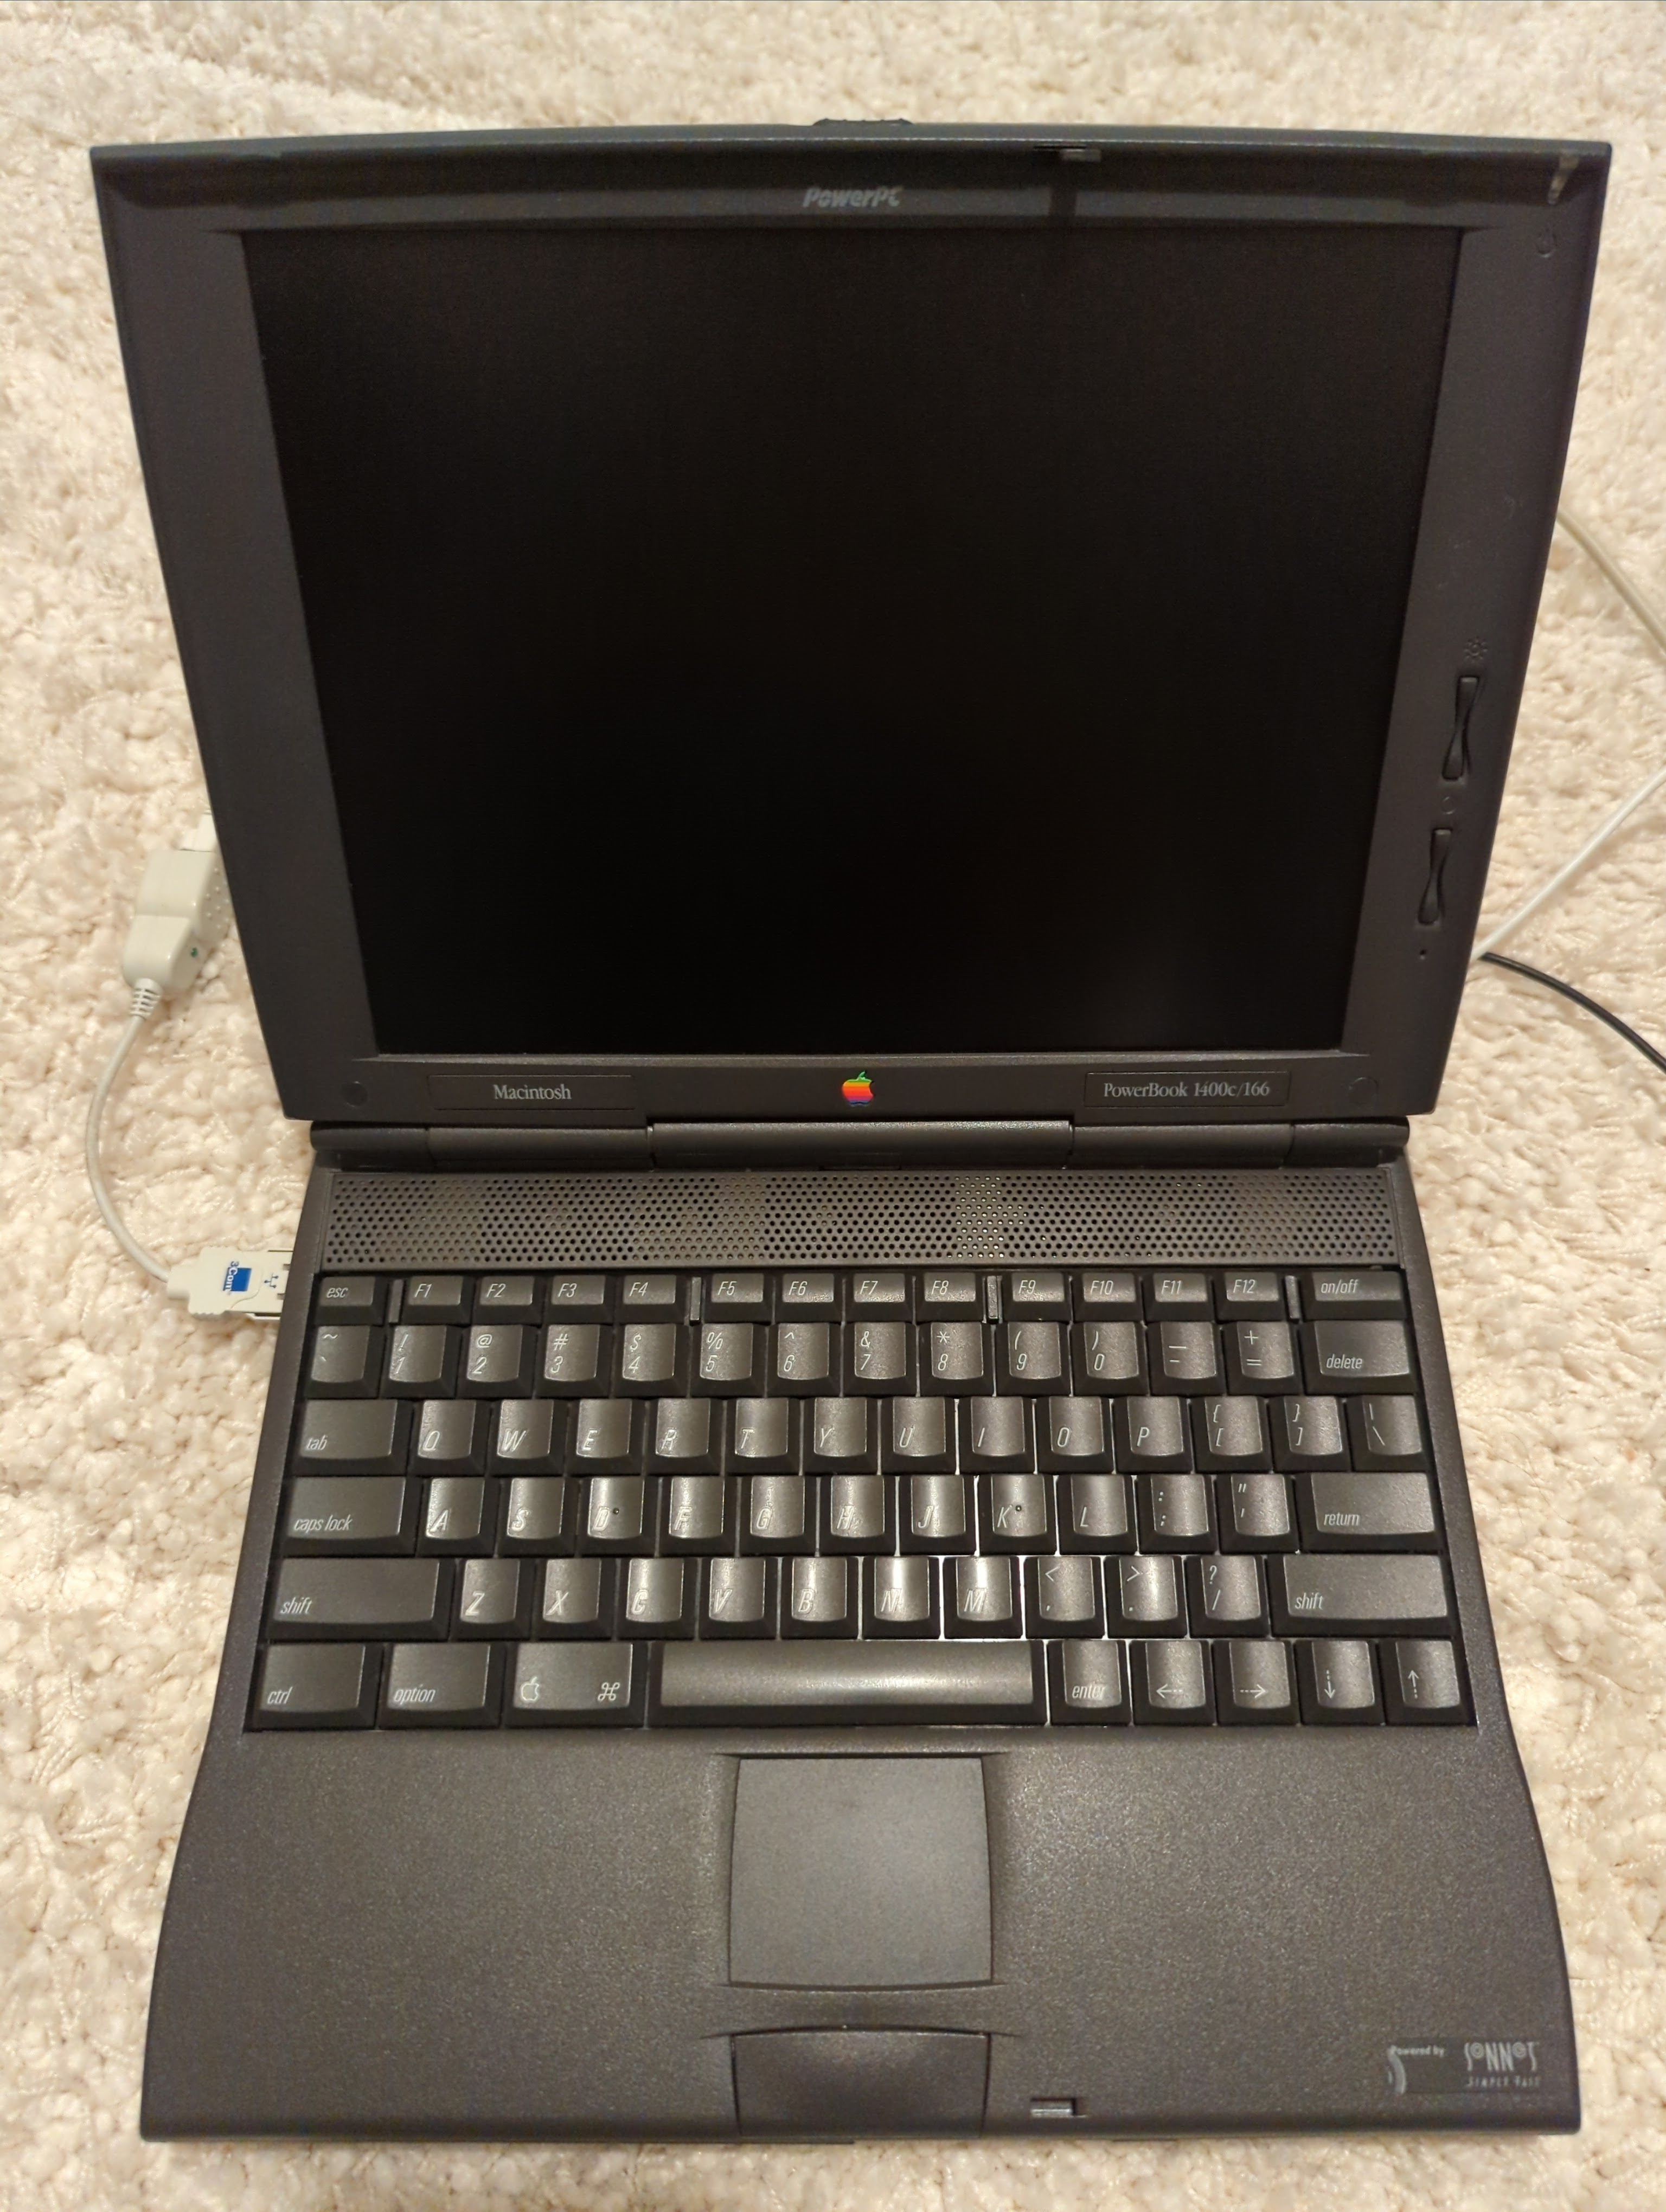
The PowerBook 1400 is, and remains, my favourite laptop. It was everything the PowerBook 5300 should have been and more. It was my first laptop, too, a hand-me-down from my sister's then-husband in 2001-ish who said if I could fix it, I could have it (a 1400cs/117 with a 117MHz PowerPC 603e). Only about four years old at that point, it turned out to need a new inverter board and a LCD, so I just bought it a new entire top half and installed it myself. I named it Benji. It ended up as my sole portable computer until I upgraded to a 12" 1.2GHz iBook G4 several years later.
It's that modularity (plus an exceptional keyboard) that makes the 1400 a particularly wonderful machine: over time I added a Sonnet 333MHz G3, extra RAM (the cs supports up to 60MB), a Apple 8-bit external video card and a 3Com EtherLink III PCMCIA NIC (which I hacked up a driver for), all on top of the 56K modem he installed and the floppy disk and CD-ROM drive bay modules it came with.
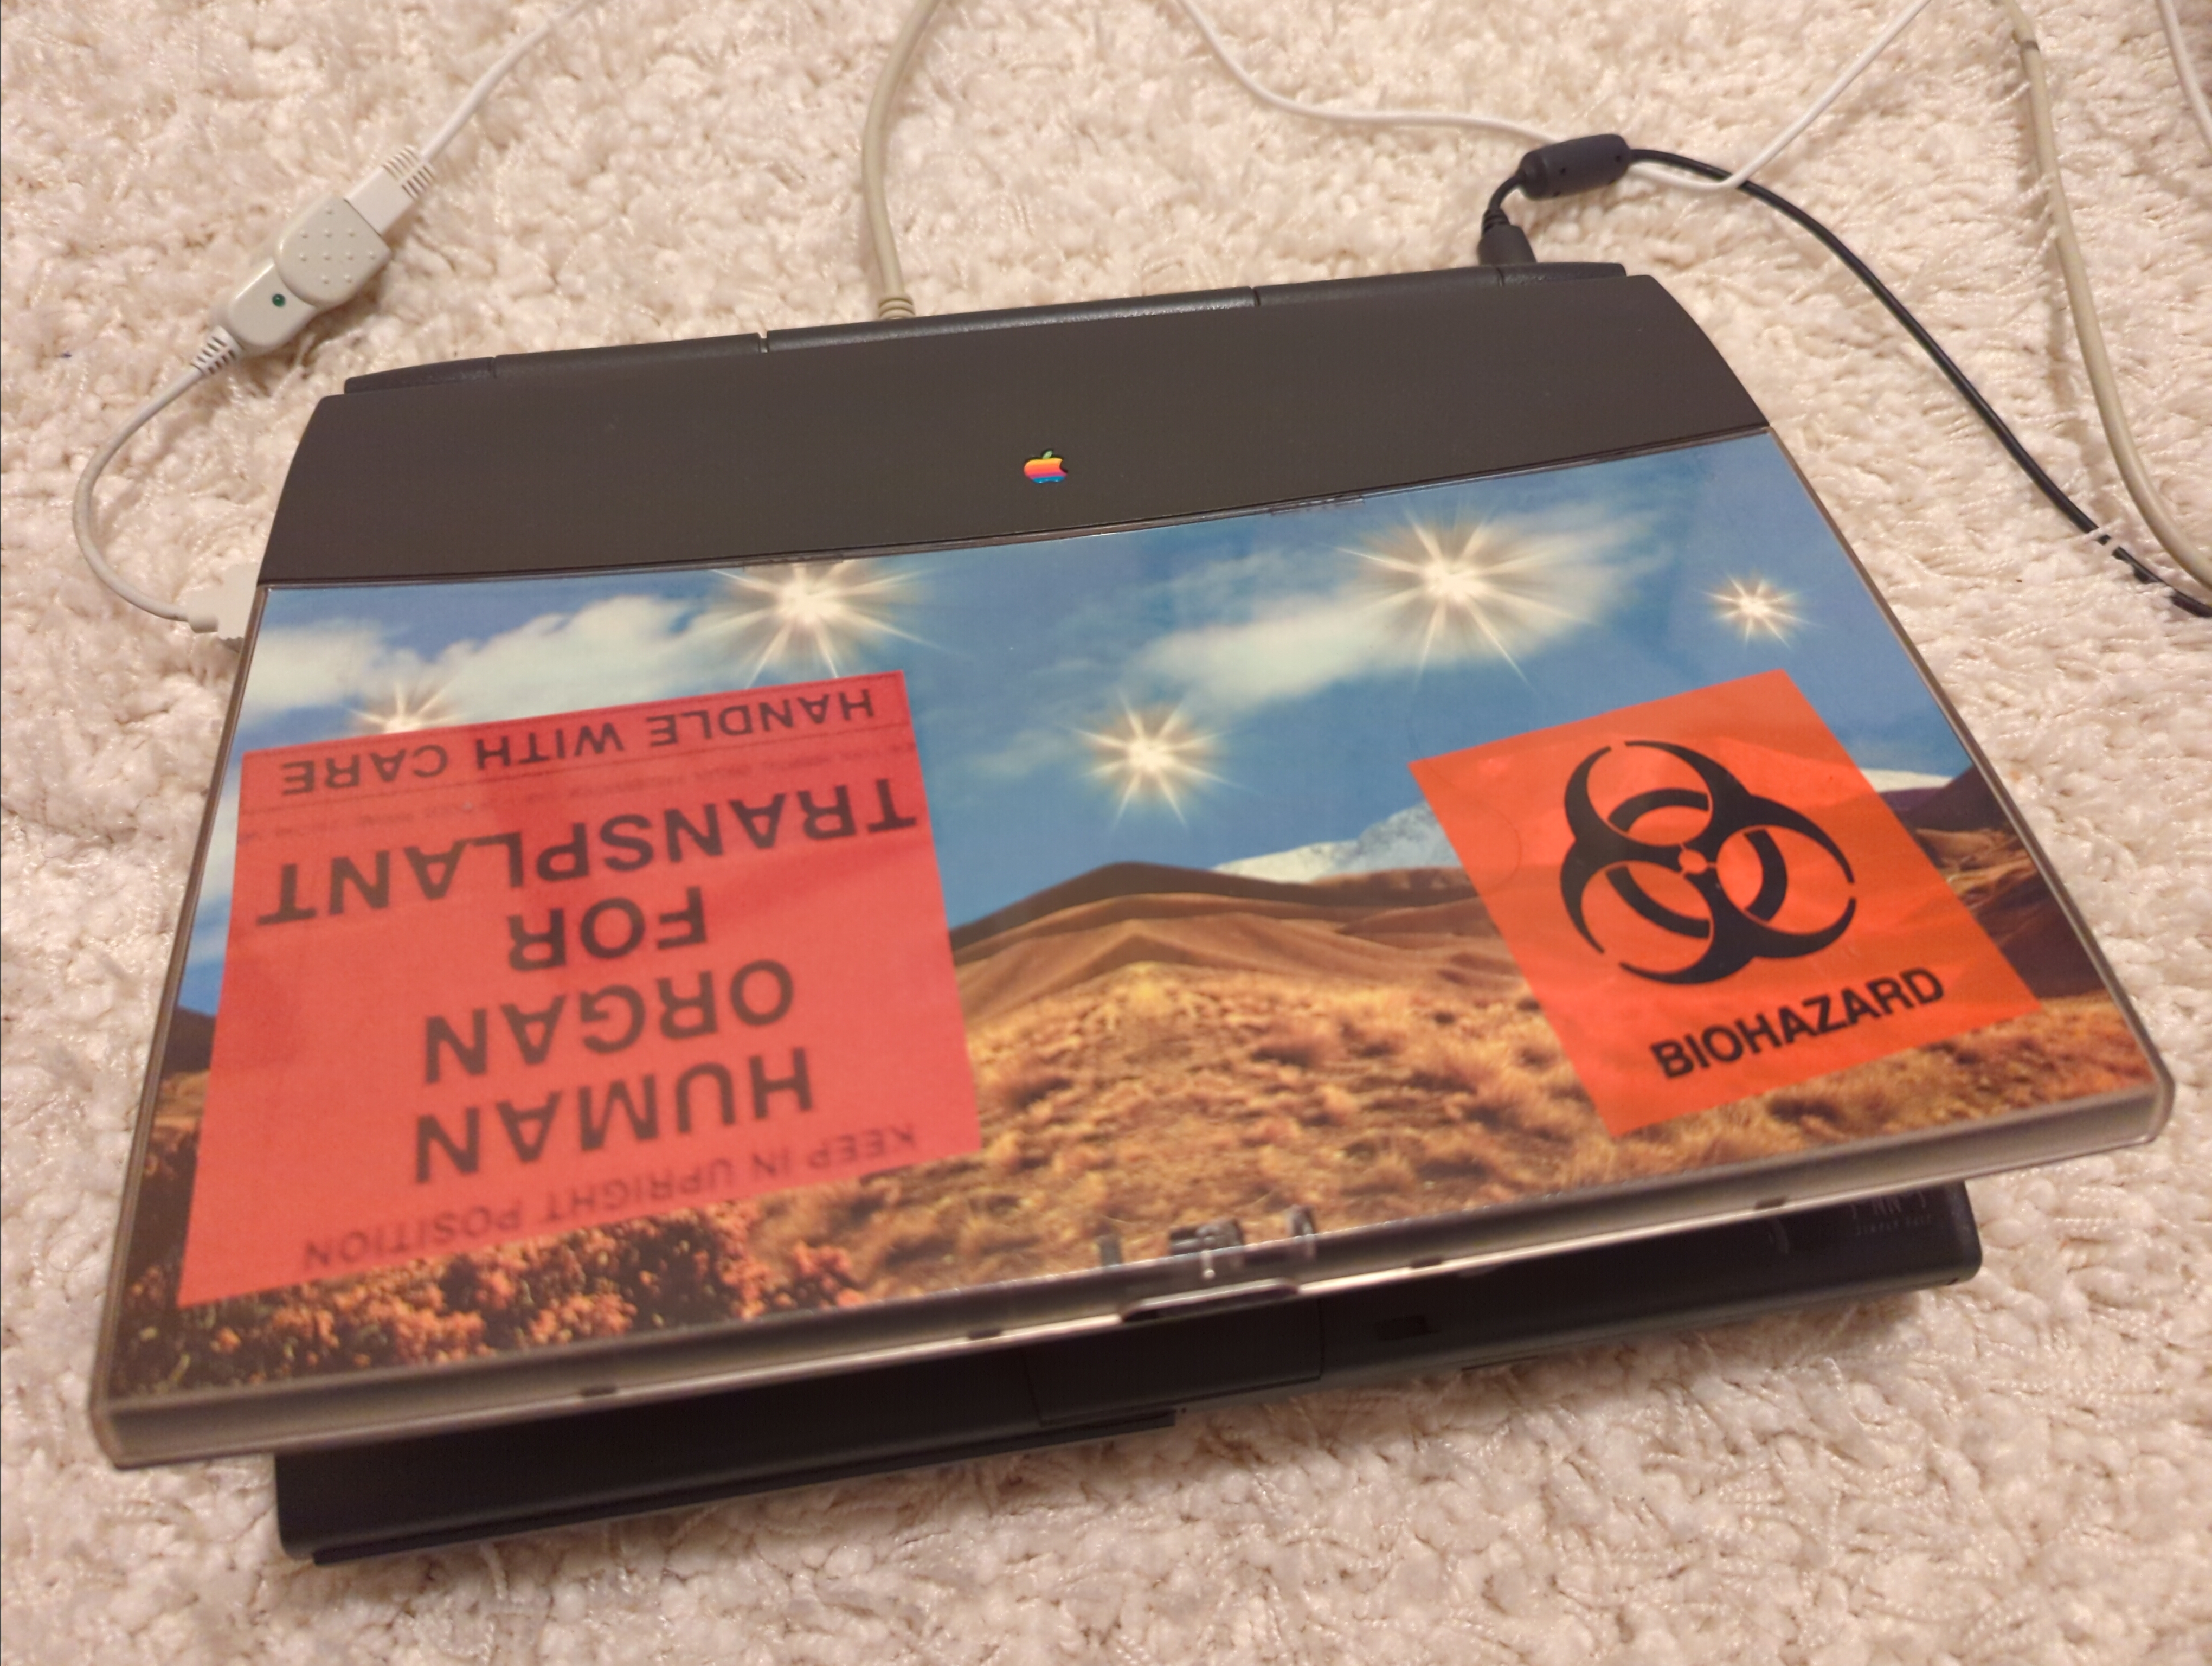
Plus, those delightful swappable covers!
I kept the one he made out of one of the included BookCovers and a couple of biohazard warning sheets because people would see them and stay away from me when using public WiFi. It's like nerd aposematic colouration.
Later I even managed to track down the very rare 1400 solar BookCover:
Those are real photovoltaic cells, sold by Keep It Simple Systems of Helena, MT (bankrupt since 2000). I only have the battery charging cap but it could also directly plug into the DC jack with a different attachment and had a little internal kickstand for positioning it as a standalone panel. The laptop couldn't run entirely off solar but KISS claimed it could add an additional thirty to sixty minutes of runtime on battery.
The original motherboard eventually got flaky, so I transferred everything over to a 1400c/166 motherboard which also gave me an extra 4MB of RAM headroom and a lovely active matrix display. Even after I got the iBook G4 I still used it as a classic Mac portable, and upgraded the G3 to 466MHz (the last and greatest of the Sonnet 1400 upgrades) and installed a replacement 2.5" IDE hard disk with more space. I've even got a metric butt-ton of batteries that still vaguely hold a charge along with a VST dual battery charger to charge 'em. Short of putting an SSD or CF drive in it, I challenge you to find a 1400 that's more pimped out than this one. Nowadays its most important tasks are running classic Mac OS 9 software with a smaller footprint than my TiBook G4, as well as serving as a serial console using ZTerm and a Mac printer cable.
But the 1400 also has the same problem most mid-late 1990s Macintoshes do: craptastic plastic. We can't call it Spindlerplastic because the 1400 came out after his ouster, so I'll dub it Amelioplastic instead. This wouldn't have been a problem if the plastic portions of the case weren't primarily load-bearing, but not only were they, but Apple's design at the time also tended to embed other structural elements in it as well. When the plastic failed then they failed too.
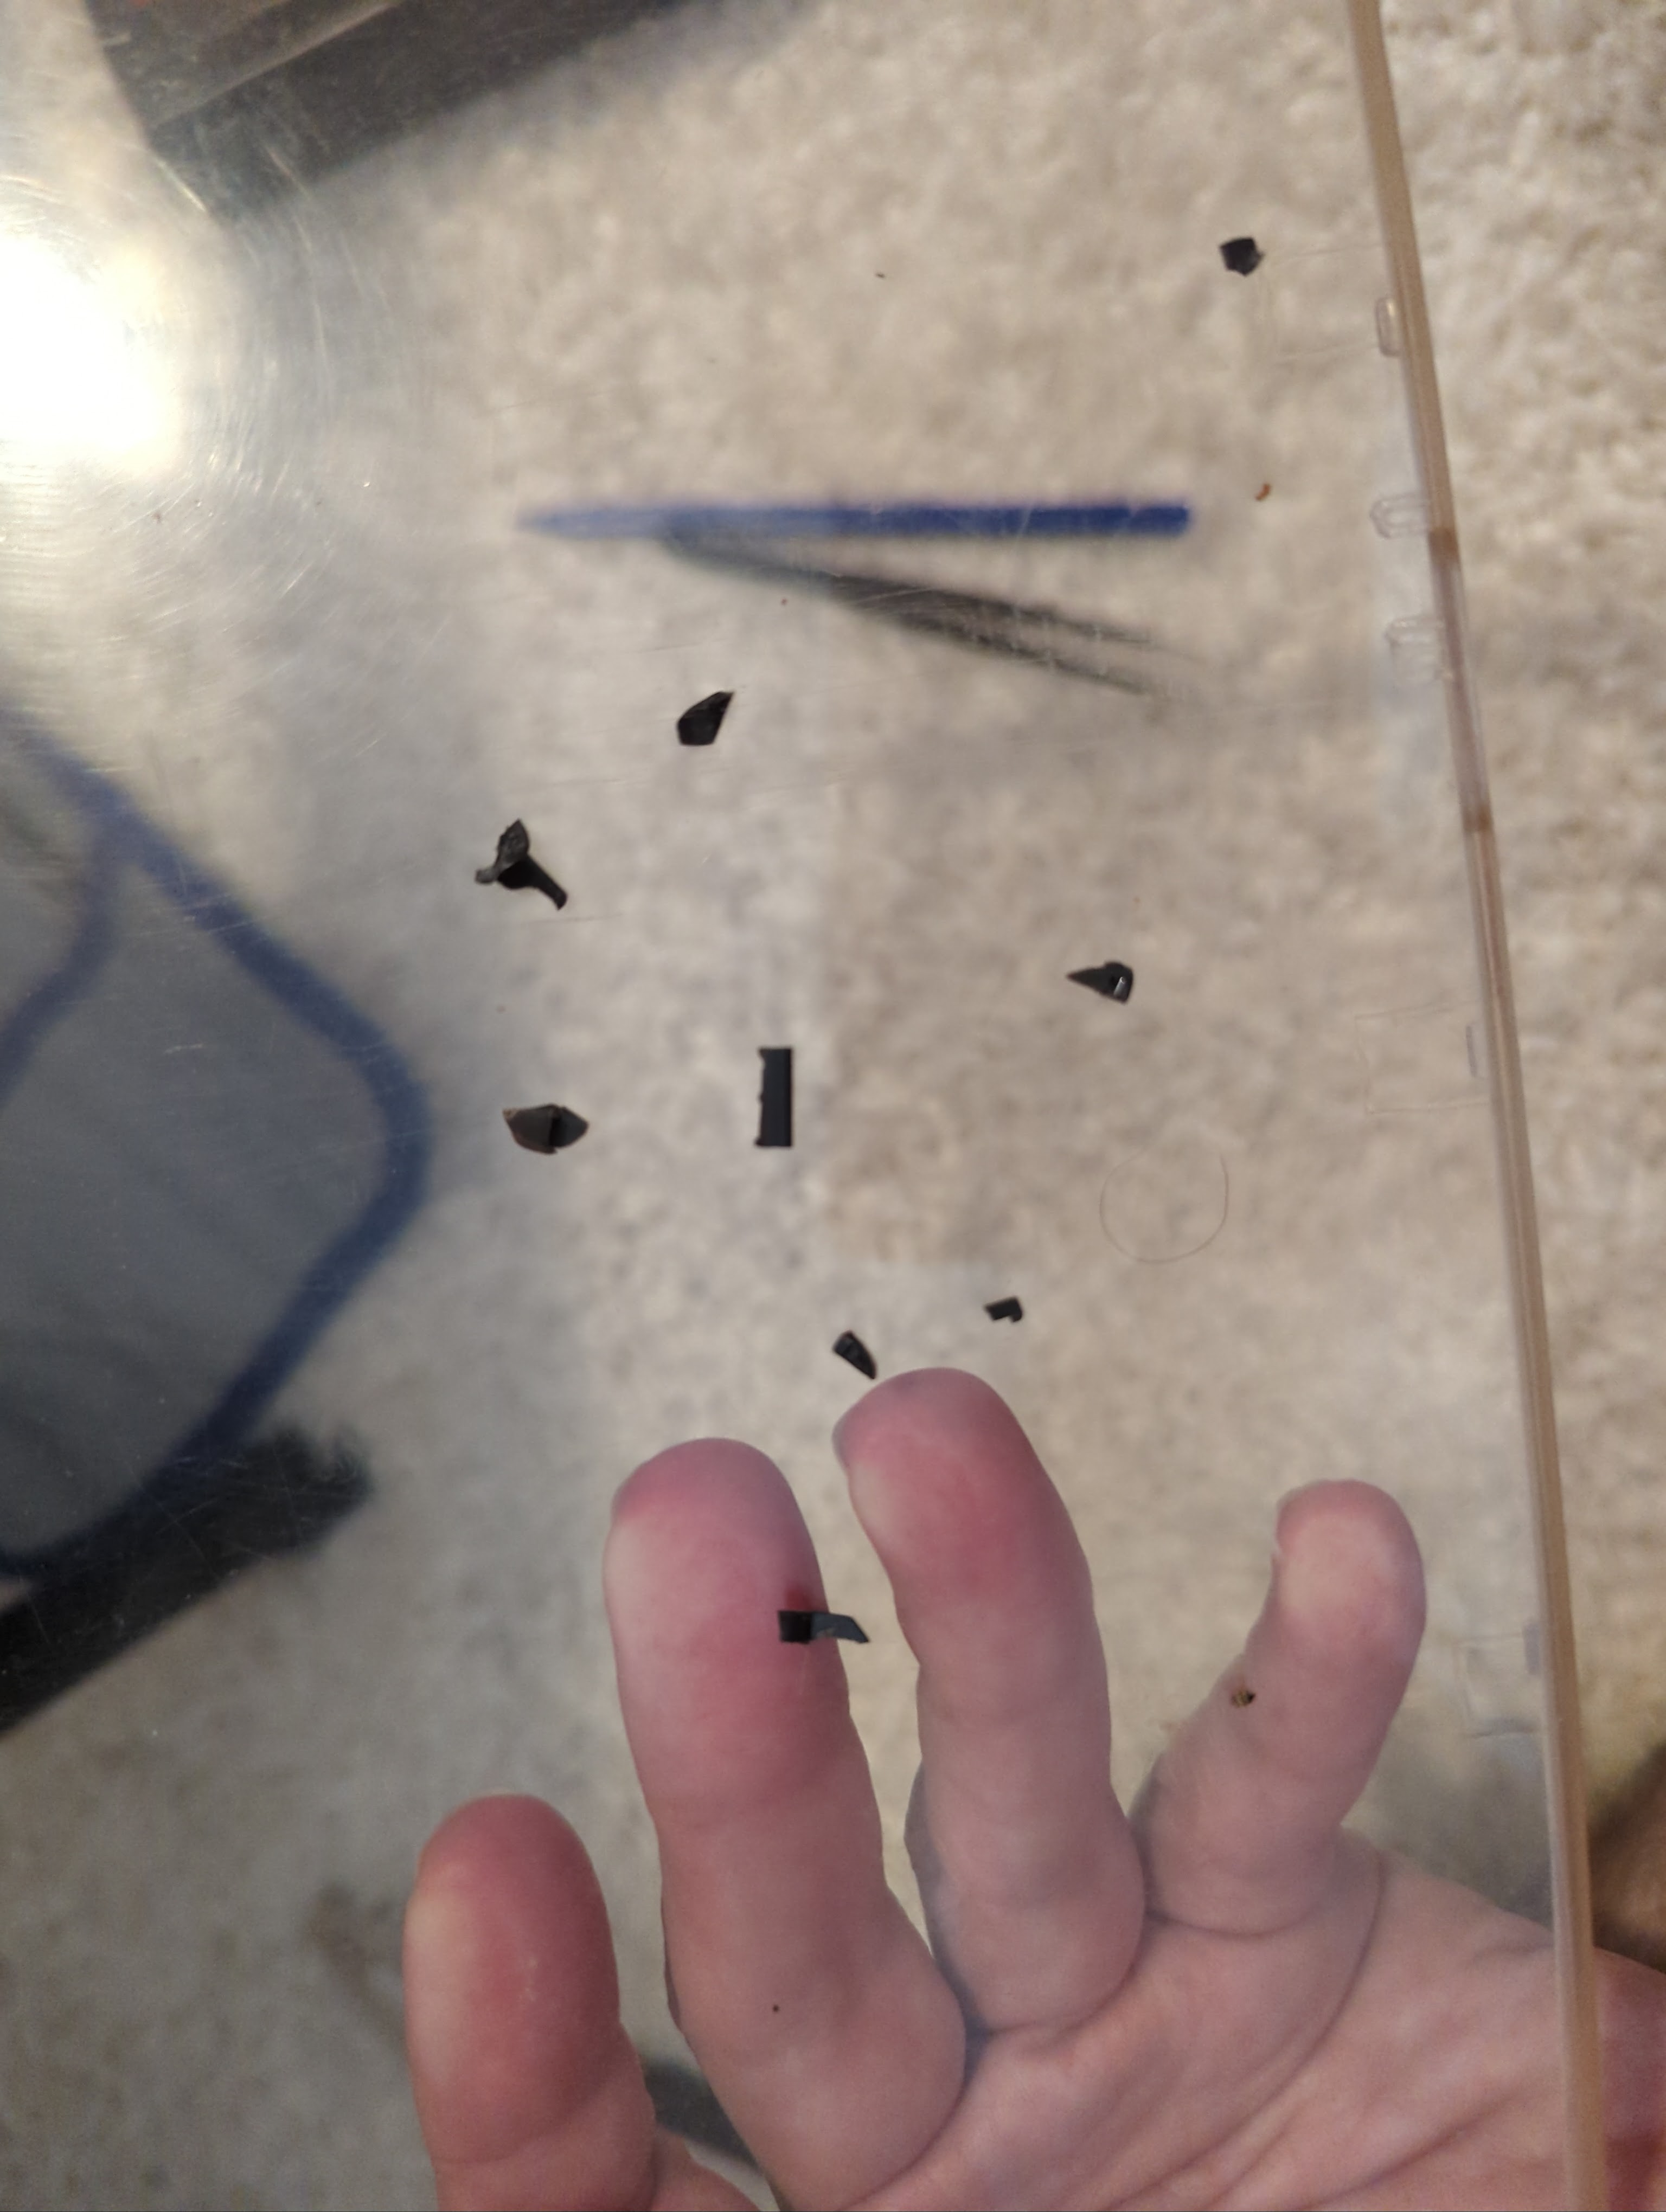
When my beloved 1400's hinges started to split I knew it was a matter of time. But when the front display bezel actually bulged and fractured trying to open it ... well, it's time for a Refurb Weekend.
Here were the Amelioplastic fragments from the splitting hinge. Ugly.
The damage is exposed by sliding off the speaker grille, lifting off the keyboard and unscrewing and removing the metal heat sink. I then pried off the plastic center cover and removed the clamp on the display connectors (attached with a single small lag bolt). Here you can see where the bezel snapped. For just this situation I have three spare 1400s I use as parts donors, two 1400cs units (my original 117 and a 166) and another 1400c. One of those is in the background.

Incidentally, when I mean modular, I mean modular. It doesn't take much effort to work on this thing because all the expansion options are daughtercards (as well as the PCMCIA slots, natch) and easy to get to; many options, like RAM upgrades, were even considered customer-installable by Apple. The 466MHz G3 is the purple card on the left, a Sonnet upgrade with an IBM 750L CPU (copper die-shrunk 200nm version of the original PowerPC 750) and 1MB of L2 backside cache replacing the original 603e card. To get this speed on the 1400's 33MHz bus Sonnet had to "double pump" it — the 7x multiplier makes it appear like a 233MHz CPU to Apple System Profiler (Sonnet's Metronome utility correctly benches it out). Despite being substantially faster than the 166MHz card it replaced, the G3 is also more power efficient than the 603e and I found it extended battery life noticeably. This 466MHz card was the fastest ever produced for the 1400 but there were other cards from them, Vimage and Newer Tech from 216MHz to 400MHz like the 333MHz I bought originally.
On the right is the 1400's infamous stacked RAM. Now, let's also give credit where credit's due: you're not limited to one card of RAM here because that port on top lets you piggyback another one and that's more than many laptops let you do. But RAM from some vendors didn't work quite right with RAM from other vendors, and some vendors cheaped out and didn't provide a slot to connect another module, and sometimes the cards wouldn't mate or even slipped apart. This machine has a 16MB stacked on a 32MB for 48MB of expansion RAM, plus the 16MB of RAM the 166MHz motherboard came with, to equal its hardware ceiling of 64MB. Theoretically you could replace the 12MB motherboard module (different from the stackable RAM) the 117MHz and some 133MHz systems carried with a 16MB module from a 166MHz, but my 117MHz board had some problems with this that I never quite narrowed down. The 166MHz board in it now gives me all 64MB.
In the middle is the expansion slot. This machine has an Apple 8-bit external video card installed, providing a second display also at 800x600 (same resolution as the 16-bit internal display, either mirrored or separate) which I used for ClarisWorks presentations. There were relatively few upgrades for this slot otherwise. Newer Tech made a VIEWpowr 832x624 16-bit video card that even supported 1152x870 at 8-bit depth, but this rather rare card had a substantial disadvantage in that it sprawled into the expansion RAM section and limited you to just one module. Both the Apple card and the Newer Tech card cover up the 16MB motherboard RAM module, but it's not stackable, so that's no loss. There were also Ethernet cards that connected here (both the Focus Enhancements EtherLAN PB1400-T and Farallon PB1400 PN591-TP). Allegedly there is a 1400 version of Focus' LapisColor combo Ethernet-video card that they made for the 190 and 5300 but I've never seen it. That would have been supremely useful!
The hard drive is even easy to access too: it's peeping out at the bottom left. About the only thing that's a real pain to deal with is the PRAM battery.
Very, very carefully we work the connectors to the inverter (right) and LCD (left) off their ports using a nylon spudger. Whatever you do, do
not yank on the wires or the cable. Just slowly pry the connectors out.
To get this back in working order I decided to use the bezel and back from one of the donor units' displays but keep the same inverter and LCD. (You can't install a passive-matrix display in an active-matrix unit; the inverter will flip out.) This required removing the BookCover, unscrewing the metal hinges from the bottom case, carefully peeling off the appliques on the front with tweezers to expose more screws, removing multiple small screws to separate the bezel, removing more screws to free up the LCD and inverter, and then prying the LCD and inverter out as an interconnected unit (adhesive holds them in) with the spudger. The
Apple Service Manual for the 1400 accurately details the process.
The display opens and shuts with two rotating metal hinges attached between the back of the display and metal anchors on the bottom case. These rotating portions are under the plastic hinge covers that are part of the bezel and back. The hinge that was split had actually torn itself out of the back of the display and you can see that the back's unreinforced plastic screw holes just plain fractured around the screw races embedded in them.
Here you can compare the damage on the left side (the right hinge) with the good hinge. We're going to reinforce both sides, but we'll do that once we have this unit back in service.
The display and inverter are mounted on the new back and I'm testing them before I put the bezel back on. Looks good, no dead lines or bad pixels.
However, there's a problem when the bezel goes back on: this back and bezel was off the passive-matrix 1400cs, and that bezel doesn't line up with an active-matrix display! The service manual doesn't warn you about that because it expects you'll do a like-for-like swap instead of the Frankenstein we're assembling here. Now we'll need the bezel from the spare active-matrix 1400c to make this work.
The labels must match, of course, so I removed the applique badges from the new bezel and replaced them with the badges from the broken one. Rather than risk marring them or the bezel by digging them out with a flathead, you can just pop them out from the back.
A blunted pin or paperclip will do the same for the Apple badge, which I swapped as well because this one was nicer. It needed a little dab of rubber cement to hold it, though.
The bezel is attached back together and I've screwed the rotating metal hinges back into their posts (don't overtighten anything, especially into the plastic). Time to put the connectors back in, replace the heatsink, keyboard and speaker grille, and then slide back on the side and centre hinge covers.
Bong!
Now, what can we do about that back?
Here's where it tore out and what's left. You can see the metal screw races ruptured out of the Amelioplastic as well as the little metal tab that covered them (fat lot of good that did).
This calls for JB Weld, which for those of you unfamiliar with it is a metal-reinforced epoxy. I rebuilt the area where the screw races were supposed to go as well as reinforced the other side a bit at the same time since I had some goop left over. This is a permanent modification but the alternative is a broken, useless back, so here we are. One potential future problem with a bodge like this is that by significantly strengthening
these sections of the display all the other portions are weaker by comparison, making it possible it could split somewhere else. That's craptastic plastic for you and it's not getting any better with age. This spare back will go into storage for the next time since I have a sinking feeling there'll be one.
Meanwhile, the 1400 is back in service this evening as a serial debug console for a machine I'm trying to work out a BeOS driver issue with, and it's still a profound pleasure to use especially now with a renewed lease on life. Another successful Refurb Weekend in the can — and it's not even Saturday yet.


The 1400 is a great Apple laptop. I have owned several.
ReplyDeleteHi - I am trying to fix my broken 1400c screen (it is super dim - probably a bad backlight). do you know where I might get a replacement 1400c screen? Thanks!
ReplyDeleteSadly, no, not any more. The replacement top I got over 20 years ago and I don't think even specialty sellers still have them in stock. Probably your best bet is to look for another one (eBay or otherwise) and try to merge the two.
DeleteI've just picked up a Powerbook 1400 (from Japan) with the "Focus Enhancements PB1400t card".. I don't suppose you have any idea where to get drivers? I seem to only be able to find the Farallon ones
ReplyDeleteNo, unfortunately, I know only of the card's existence.
DeleteThanks for getting back to me - I found them in the Mac Drivers Museum Archive (1990-2003) on MacintoshRepository!
DeleteExcellent!
Delete